
Sauces & Condiments
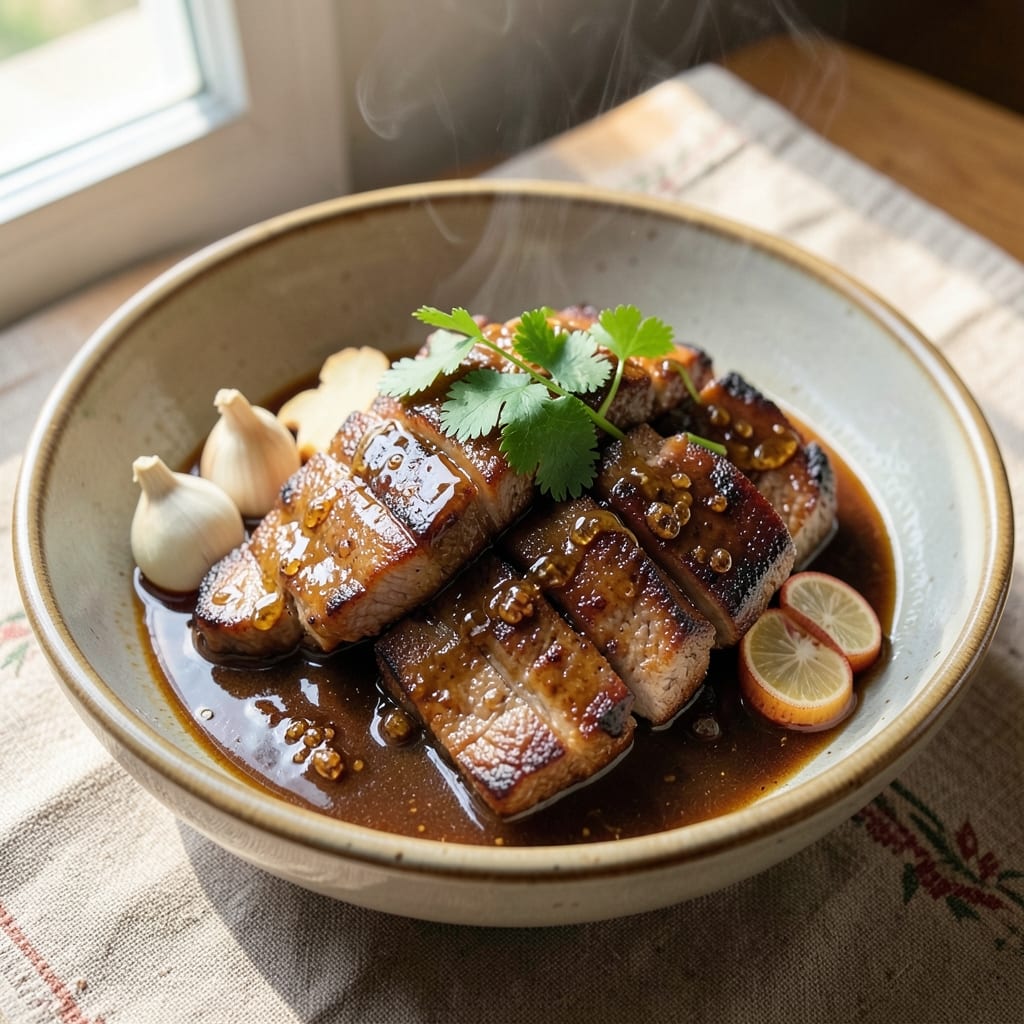
This Filipino pork BBQ sauce transforms ordinary grilled pork into something extraordinary—bold, tangy, and deeply savory with that signature umami-vinegar balance. 🔥 The secret lies in caramelizing tomato paste with vinegar and soy sauce, then blending it into a thick, sticky glaze that clings perfectly to meat. I developed this recipe after years of testing, and it's now my go-to for lechon kawali, pork skewers, or even braised dishes.
The sauce's magic comes from its three essential components: the tangy vinegar base, the deep umami from soy sauce and tomato paste, and the subtle sweetness of brown sugar. Unlike store-bought versions, this one builds flavor as it cooks, intensifying with every minute on the grill or in the oven. The texture? Thick enough to glaze but still brushable, ensuring every bite of your pork is packed with flavor.
What makes this sauce truly versatile is its dual purpose—use it as a marinade for tender, flavor-infused pork or as a finishing glaze for that perfect caramelized crust. The recipe yields about 2 cups, enough for multiple meals, and keeps well in the fridge for up to 2 weeks or can be frozen for longer storage. It’s the kind of sauce that elevates simple pork dishes into restaurant-worthy meals.
Ready to make your pork shine? This sauce is foolproof, with no complicated techniques—just a few pantry staples and a little patience. Let’s get cooking!
Ingredients for filipino pork bbq sauce
Nine simple ingredients create this restaurant-worthy Filipino pork BBQ sauce that's bold, tangy, and packed with umami.
| Ingredient | Amount | Notes |
|---|---|---|
| Tomato Paste 🍅 | ½ cup | High-quality, no sugar added |
| Cane Vinegar 🍶 | ½ cup | White or apple cider vinegar |
| Soy Sauce 🥢 | ½ cup | Light or dark preferred |
| Brown Sugar 🍚 | ¼ cup | Packed, light or dark |
| Garlic Cloves 🧄 | 6 cloves | Peeled, roughly chopped |
| Fresh Ginger 🌿 | 2 tbsp | Finely grated, fresh preferred |
| Black Peppercorns 🌶️ | 1 tsp | Crushed, not ground |
| Bay Leaves 🍃 | 2 whole | Dried, for depth of flavor |
| Olive Oil 🫒 | 2 tbsp | Extra-virgin for richness |
| Salt 🧂 | 1 tsp | Kosher or sea salt |
The tomato paste is the flavor foundation—look for high-quality, no-sugar-added at Trader Joe's or Whole Foods. Fresh ginger and garlic are non-negotiable here; pre-grated ginger loses potency fast, so grate it yourself. For the vinegar, cane vinegar gives the authentic tang, but apple cider vinegar works in a pinch. The bay leaves might seem minor, but they add that subtle earthiness that separates this sauce from others. If you're short on time, garlic powder at half the amount gets you close, but fresh is always better.
No soy sauce? Coconut aminos work as a gluten-free swap, though the flavor will differ slightly. Running low on brown sugar? Honey or maple syrup at the same amount keeps the sweetness balanced. The olive oil isn't just for cooking—it adds richness to the finished sauce. Toast the peppercorns in a dry pan for 30 seconds before crushing to deepen their flavor. For a smokier profile, add 1/4 tsp smoked paprika to the mix. The sauce thickens as it cooks, so if you prefer it thinner, add 1 tbsp water at the end.
This sauce keeps beautifully—2 weeks in the fridge sealed in a jar, or 6 months in the freezer. I always make a double batch because it disappears fast. For leftovers, reheat gently on the stove with a splash of water to loosen it up. The flavor actually improves over time, so don't hesitate to make extra. Store in glass containers to preserve the rich colors and flavors. If you're prepping for a big cookout, freeze in ice cube trays for easy portioning later.
Why You'll Love This Recipe
- Pantry Magic: I swear, this sauce comes together with stuff I already have—no fancy shopping list. That jar of tomato paste, the cane vinegar gathering dust, even the soy sauce you’ve had since college? Boom. You’re golden.
- Sweet-Savory Balance: The brown sugar caramelizes into the garlic while the vinegar cuts through the richness. It’s not too sweet, not too tangy—just that perfect, sticky-sweet bite that makes you want to slather it on everything.
- Weeknight Hero: Between us, this is my lazy night savior. Toss it on grilled pork, stir it into rice, or even drizzle it over eggs. Honestly, I’ve used it in three different meals this week, and no one’s complained.
- Leftover Goldmine: Make a big batch—it keeps for weeks in the fridge. The flavors actually get better as it sits, and I’ve reheated this sauce for breakfast tacos, lunch sandwiches, and even as a marinade. (Yes, even on a Tuesday night.)
Step-by-step instructions for Filipino pork BBQ sauce
This sauce delivers that signature Filipino umami-tangy balance—perfect for grilling or braising.
🍳 Step 1: Bloom the Aromatics in Olive Oil
Heat the 2 tablespoons olive oil in a medium saucepan over medium-low heat. Add the 6 cloves garlic cloves and 2 tablespoons fresh ginger—I like to use a microplane for the ginger to get fine, flavorful threads. Cook for 3-4 minutes until the garlic turns golden and fragrant, but don't let it brown or it'll turn bitter.
Here's the thing—this step builds the sauce's aromatic foundation. The ginger should smell bright and citrusy, while the garlic should perfume the air without color. If you smell burning, immediately reduce the heat to low and stir. The oil should shimmer but not smoke.
🍳 Step 2: Add Dry Ingredients and Toast
Stir in the 1 teaspoon crushed black peppercorns, 2 whole bay leaves, and 1 teaspoon salt. Toast these spices for 30 seconds while stirring constantly—you'll see them release their essential oils and fill your kitchen with warm, earthy aromas. This quick toasting deepens the sauce's complexity.
Next, add the 0.25 cup packed brown sugar and stir until fully dissolved. The sugar will caramelize slightly, giving the sauce that subtle sweetness that balances the tang. Keep the heat at medium-low—too high and you'll burn the sugar before it integrates.
🍳 Step 3: Build the Sauce Base
Pour in the 0.5 cup cane vinegar and 0.5 cup soy sauce all at once. The mixture will bubble vigorously as the vinegar's acidity reacts with the sugar. Reduce heat to medium and let it simmer for 5 minutes to allow the flavors to meld and the vinegar to mellow slightly.
Here's where the magic happens: the vinegar's sharpness softens while the soy sauce's umami develops. You'll notice the sauce darkening slightly—this indicates the Maillard reaction creating depth. If it reduces too quickly, add 1-2 tablespoons water to maintain a smooth consistency.
🍳 Step 4: Incorporate Tomato Paste and Simmer
Lower the heat to low and stir in the 0.5 cup tomato paste. The paste will thicken the sauce dramatically as it cooks. Simmer uncovered for 10-12 minutes, stirring occasionally, until the sauce reaches a thick, glossy consistency that coats the back of a spoon.
This final simmering step is crucial—it allows all the flavors to marry completely. You'll know it's ready when the sauce pulls away from the sides of the pan slightly and has a velvety texture. If it's still too thin, simmer uncovered for another 3-5 minutes to reduce further. The sauce should be thick enough to coat the back of a spoon but still pourable.
⏰ Step 5: Strain and Cool
Remove the pan from heat and let it sit for 2 minutes. Then carefully strain the sauce through a fine-mesh sieve to remove the bay leaves and any peppercorns that didn't fully crush. This step ensures a silky-smooth texture without any gritty bits.
Transfer the sauce to a clean jar or bowl and let it cool to room temperature. The sauce will thicken slightly more as it cools, which is perfect for glazing. Store any leftovers in the refrigerator for up to 2 weeks—it actually improves in flavor over time as the ingredients continue to meld.
Pro Tips For Making Filipino Pork Bbq Sauce
- STIR CONSTANTLY AT FIRST: The first 3-4 minutes after adding tomato paste and vinegar are where the sauce either turns into glue or develops depth. I learned this the hard way—skipping the stir meant a burned bottom while the top stayed raw. Use a wooden spoon and keep it moving until the mixture thickens slightly, then you can ease up.
- MINCE THAT GARLIC: Whole cloves? Nope. For this sauce, you want garlic to dissolve into the mix—not sit as chunks. I was skeptical until I tried it: finely minced garlic (or even pressed through a garlic press) blends smoothly and adds a more consistent flavor. Save the whole cloves for marinades.
- DILUTE THE VINEGAR: Cane vinegar is strong stuff, and dumping it straight in can make the sauce taste harsh. I now mix 1 part vinegar with 1 part water before adding it to the pot. This keeps the tang sharp but balanced—no one wants a sauce that stings instead of shines.
- SWEAT THE GARLIC FIRST: This isn’t just about aroma—it’s about flavor extraction. Cook the minced garlic in oil over medium-low heat for 2-3 minutes until it’s fragrant but not browned. Rushing this step means the garlic burns and turns bitter, which ruins the whole sauce. (Yes, even if you’re impatient like me.)
Creative variations of this recipe
Sweet & Smoky Twist
Add 1 tablespoon smoked paprika and 1 teaspoon cinnamon when toasting your spices in Step 2 for a deeper, slightly sweet profile. This works especially well for braised pork belly or pulled pork sandwiches. The cinnamon adds warmth while the paprika brings subtle smokiness—perfect for balancing the tangy vinegar. 🔥
Spicy Kick Version
For heat lovers, blend in 1 tablespoon gochujang (Korean chili paste) or 1-2 tablespoons sambal oelek after removing from heat. Start with 1 teaspoon to test the heat level—this adds a fruity, spicy depth that pairs beautifully with grilled pork skewers. The gochujang also introduces a subtle sweetness that complements the sauce's complexity.
Coconut Milk Fusion
Replace ¼ cup water with ¼ cup coconut milk in Step 3 for a creamy, tropical variation. This works wonderfully with pork adobo or coconut-crusted pork chops. The coconut milk adds richness while keeping the sauce's signature tang. For extra authenticity, add ½ teaspoon turmeric when toasting your spices—it gives a beautiful golden hue and earthy flavor.
Herb-Infused Variation
Add 2 tablespoons chopped fresh cilantro or thai basil to the sauce after straining. This brightens the flavor profile and adds a fresh, aromatic note that's perfect for grilled pork tacos or pork lettuce wraps. For a stronger herb presence, let the cilantro steep in the warm sauce for 10 minutes before serving, then strain again to remove any bits.
Slow-Cooked Depth
For an even more complex flavor, simmer the sauce for 30-45 minutes on low heat after adding the tomato paste. This extended cooking time deepens the caramelization and intensifies the umami. It's ideal for long-braised dishes like pork belly sinigang or pork stews. The longer cook time also makes the sauce more versatile for reheating—just add a splash of water to loosen it up.
Gluten-Free Adaptation
Swap the soy sauce for ½ cup coconut aminos to make this sauce gluten-free while maintaining the umami depth. The coconut aminos also add a subtle sweetness that enhances the sauce's balance. This version works perfectly with grilled chicken skewers or fish dishes that need a tangy glaze. For extra richness, add 1 tablespoon fish sauce to the sauce after straining—it adds another layer of savory complexity.
Nutrition facts
Frequently asked questions
Can I use this sauce on chicken or other meats?
This sauce works beautifully with chicken, especially grilled or roasted. For poultry, reduce the soy sauce to ¼ cup to prevent overpowering the delicate flavor. It also pairs well with beef ribs, shrimp skewers, or even tofu for a vegetarian option. The key is balancing the tangy-sweet profile with your protein's natural flavor.
How do I adjust the thickness for glazing vs. marinade?
For a glaze, use the sauce as-is—it's thick enough to stick to meat when grilled or broiled. For a marinade, thin it with 1-2 tablespoons water or broth per ½ cup sauce to help it penetrate the meat better. The sauce will thicken again as it cooks, so start with a slightly looser consistency.
What if my sauce turns out too thin?
Simmer uncovered for 5-10 more minutes to reduce the liquid. If it's still too runny, mix 1 tablespoon cornstarch with 2 tablespoons water, stir into the sauce, and simmer until thickened. For a natural thickener, add 1 tablespoon tomato paste and cook for another 5 minutes—this works especially well if you want to avoid cornstarch.
Can I make this sauce without fresh ginger?
Yes, but the flavor will be less vibrant. Use 1 teaspoon ground ginger or 1½ teaspoons ginger powder30 seconds to deepen its aroma. If you have pickled ginger, chop 1 tablespoon and add it with the vinegar—it adds a tangy brightness that works surprisingly well!
How long should I marinate pork in this sauce?
For tender cuts like pork shoulder or loin, marinate for 4-6 hours or overnight. For thin cuts like pork tenderloin or skewers, 2-4 hours is enough to infuse flavor without over-marinating. Always pat the meat dry before cooking for better browning. The sauce's acidity works best with slightly oily meats—pork belly or pork shoulder absorb it perfectly.